Azure Data Studio is a cross-platform database tool for data professionals using the Microsoft family of on-premises and cloud data platforms on Windows, MacOS, and Linux. It was previously called as “SQL Operations Studio”. It has been engineered keeping Data Platform user in mind. Azure Data Studio has been designed to focus on commonly used functionality with any additional experiences made available as extensions.
Microsoft informs that “The vision of the product is to create a unified experience across heterogenous data sources regardless of their form or location: structured or unstructured, on-premises or cloud. Azure Data Studio currently offers built-in support for SQL Server on-premises and on the cloud and Azure SQL Database, along with preview support for Azure SQL Managed Instance, Azure SQL Data Warehouse and SQL Server 2019 Big Data Clusters.”
Use Azure Data Studio if you:
- Need to run on macOS or Linux
- Are connecting to a SQL Server 2019 big data cluster
- Spend most of your time editing or executing queries
- Need the ability to quickly chart and visualize result sets
- Can execute most administrative tasks via the integrated terminal using sqlcmd or PowerShell
- Have minimal need for wizard experiences
- Do not need to do deep administrative configuration
Use SQL Server Management Studio if you:
- Spend most of your time on database administration tasks
- Are doing deep administrative configuration
- Are doing security management, including user management, vulnerability assessment, and configuration of security features
- Make use of the Reports for SQL Server Query Store
- Need to make use of performance tuning advisors and dashboards
- Are doing import/export of DACPACs
- Need access to Registered Servers and want to control SQL Server services on Windows
Getting Started with Azure Data Studio
Download Azure Data Studio
1. Open Azure Data Studio

2. To connect to SQL Server, select
- Connection Type: Microsoft SQL Server
- Server: [Your SQL Server Instance name]
- Authentication Type: [Windows Authentication/SQL Login]
- User name: [username, if SQL Login]
- Password: [password, if SQL Login]
- Database: [choose the Database name you would like to connect]
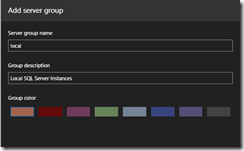
- Server Group: [Group servers under common heading]

3. Set any Advanced Properties if required.

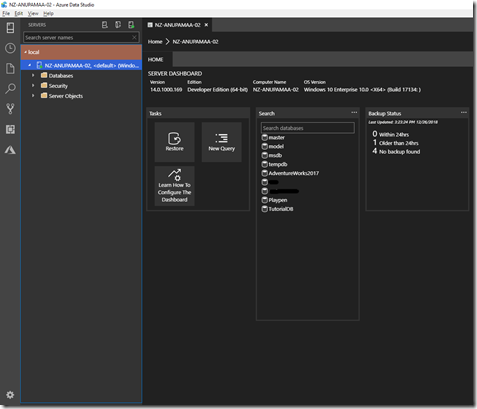
4. Click connect and you can see a screenshot similar to below.

Technorati Tags:
Azure,
SQL 2017,
SQL Server,
Azure Data Studio